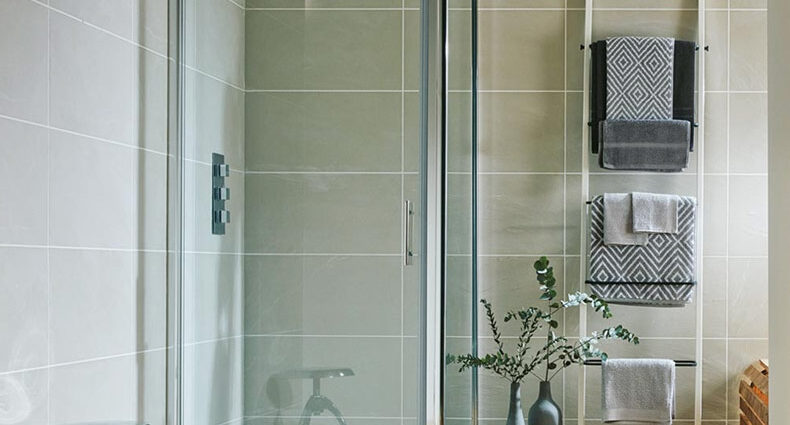
Upgrading your bathroom can instantly elevate the overall aesthetic and functionality of the space. One essential element that adds both style and practicality to your bathroom is a shower screen. Installing a shower screen might seem like a daunting task, but with the right tools and a step-by-step guide, you can achieve a professional-looking installation on your own. In this blog post, we’ll walk you through the process of installing a shower screen, turning your bathroom into a sleek and modern oasis.
Materials and Tools
Before you start the installation process, gather the necessary materials and tools. You’ll typically need a shower screen kit, which includes the glass panels, hinges, handles, and any additional hardware required. Additionally, make sure you have a drill, screwdriver, level, measuring tape, and silicone sealant.
Step 1: Measure and Mark:
Begin by measuring the dimensions of your shower area accurately. Mark the positions for the hinges and handles on the shower walls. Use a level to ensure that your markings are straight and evenly spaced. This step is crucial for achieving a balanced and visually appealing installation.
Step 2: Drill Holes:
Once you’ve marked the positions for the hinges and handles, use a drill to make pilot holes for the screws. It’s essential to choose the right drill bit size to prevent any damage to the tiles or walls. Take your time during this step to ensure precision.
Step 3: Install Hinges and Handles:
Attach the hinges and handles to the shower screen panels according to the manufacturer’s instructions. This step may vary depending on the specific shower screen kit you’ve purchased. Make sure to double-check the alignment and levelness as you secure each component in place.
Step 4: Mount the Shower Screen:
With the hinges and handles attached, carefully lift the shower screen panels and align them with the drilled holes. Slowly secure the panels in place using the screws provided in the kit. Take your time during this process to ensure that the panels are securely and evenly attached to the walls.
Step 5: Apply Silicone Sealant:
To prevent water leakage and enhance the stability of the shower screen, apply silicone sealant along the edges where the panels meet the walls and floor. Smooth out the sealant with a sealant tool or your finger for a neat finish. Allow the sealant to cure according to the manufacturer’s recommendations.
Step 6: Clean and Enjoy:
After the sealant has cured, clean the shower screen to remove any fingerprints or residue. Stand back and admire your newly installed shower screen, transforming your bathroom into a stylish and functional space.
Installing shower screens is a manageable DIY project that can significantly enhance the look and functionality of your bathroom. With careful measurements, precise drilling, and attention to detail, you can achieve a professional-looking installation. Follow this step-by-step guide, and soon you’ll be enjoying a modern and stylish shower experience in your upgraded bathroom.
Transform your Melbourne home or office with the unparalleled expertise of our glass and glazing services. From sleek glass partitions that enhance natural light to energy-efficient windows that elevate your property’s efficiency, we are committed to providing top-notch solutions tailored to your needs. Our skilled professionals in Melbourne specialize in custom glass installations, ensuring precision and quality craftsmanship. Whether you’re looking to upgrade your windows, install a stunning glass door, or add a contemporary touch with a glass balustrade, our team has you covered. Discover the difference our glass and glazing in Melbourne can make in enhancing both aesthetics and functionality for your Melbourne space. Elevate your surroundings with the clarity and sophistication that only expert glass and glazing services can bring.